Pages

Showing posts with label cranberry. Show all posts

Sunday, 2 June 2013

Cranberry Cheesecake: A very late post

I hope you're looking forward to summer! What is the one aspect of summer that you're most looking forward to? Maybe you like the long hours of daylight, the endless blue skies, all the outdoor activities, family gatherings and holidays, the beach, or glorious sunsets? Or perhaps you like watching the magnificent summer thunderstorms? I'm mostly looking forward to enjoying those cool, sweet treats that the hot sun makes me crave. Here is a recipe for a no-bake cheesecake filling that I made last year around this time. I'd promised to post about it when I made those mung bean potato biscuits (remember?) but never got around to writing the post. Well, here it is, a year late, but still a recipe to make.

The Recipe (makes two 8" tarts):
Pie crusts (follow recipe here)

Filling:
  • 300 mL fat free, plain greek yogurt
  • 400 mL light, plain cream cheese 
  • 3/4 cup frozen cranberries
  • 1/2 cup sugar
  • 2 tbsp milk
  • 2 tsp gelatin (powder)
  • some water
Mix together yogurt, cream cheese, and milk until a smooth mixture forms. It's best to let the cream cheese come to room temperature so it softens before blending. You can also soften the cream cheese in  the microwave using the defrost setting. 

Melt and cook frozen cranberries in a pan. Pour some water on the bottom of the pan until the bottom is covered with a layer of water. Cook until cranberries pop and soften. Pour into blender and blend until an even mixture forms. Strain to remove large pieces of skin and seed. Return to pan, add sugar, stir to dissolve, and cook until thickened, like a syrup. Take off heat and stir in gelatin to dissolve. Add to cream cheese and yogurt mixture and stir to combine. Pour into prepared pie tins, and place in the refrigerator to set for at least 4 hours before serving. 

Note: you can set aside some cream cheese and yogurt mixture to decorate the top if you like. 

This is the yogurt I used. I also added the jam to the rest of the cranberry puree (it's only a small amount). 

Frozen cranberries.

Mung bean potato biscuits baked into a tart crust

Adding the filling

Swirls for decoration

You can also make it one colour. Texture after setting. 

Monday, 24 December 2012

Fruitcake Mini-muffins

This is one of my holiday recipes this year. Find the other ones here: 

Cornbread Muffins | Green Roulade | Gingerbread Snaps

Fruitcake Mini-muffins
These aren't exactly like the fruitcake you see in supermarkets, with the green and red cherries. They're more like a clafoutis scooped into mini-muffin tins, or a loaded, muffin-shaped fruit and nut pancake. Anyway, it got my family's thumbs-up, so I thought maybe you would like it too. I don't add a lot of sugar because the dried fruits have tons anyway. 

The Recipe
Dry ingredients:
  • 1/2 cup barley flour
  • 1/4 cup teff flour
  • 1 tbsp coconut flour
  • 1 tbsp cocoa powder
  • 1 tsp baking powder
  • 2 tbsp white sugar
  • 1/4 tsp salt
Wet ingredients:
  • 2 whole eggs
  • 1/2 cup milk
  • 1 tbsp melted butter
Fruits and nuts (feel free to make your own substitutes):
  • 1 medium apple
  • 1 tbsp butter 
  • 1 tsp cinnamon
  • 1/2 cup dried apricots, diced
  • 1/2 cup dried cranberries, chopped 
  • 1/2 cup toasted almonds, chopped
  • 1/2 cup toasted walnuts, chopped
Peel and dice apple. Sauté in 1 tbsp butter and cinnamon until apples are cooked and some of the water content has evaporated. Set aside to cool. Sift and stir together dry ingredients. Add fruits and nuts and stir to make sure everything is coated in flour. Mix all wet ingredients together and add to flour and fruit mixture in one go. Stir to combine. Spoon into lined mini-muffin tins and bake at 350 ºF (175 ºC) for 10 to 12 minutes. Toothpick should come out clean. 
Dried fruits and sautéed apple.

Chopped walnuts and almonds.

Before baking.

After baking. I couldn't get a better picture of them – they were devoured before I could get a better shot.

Thursday, 3 May 2012

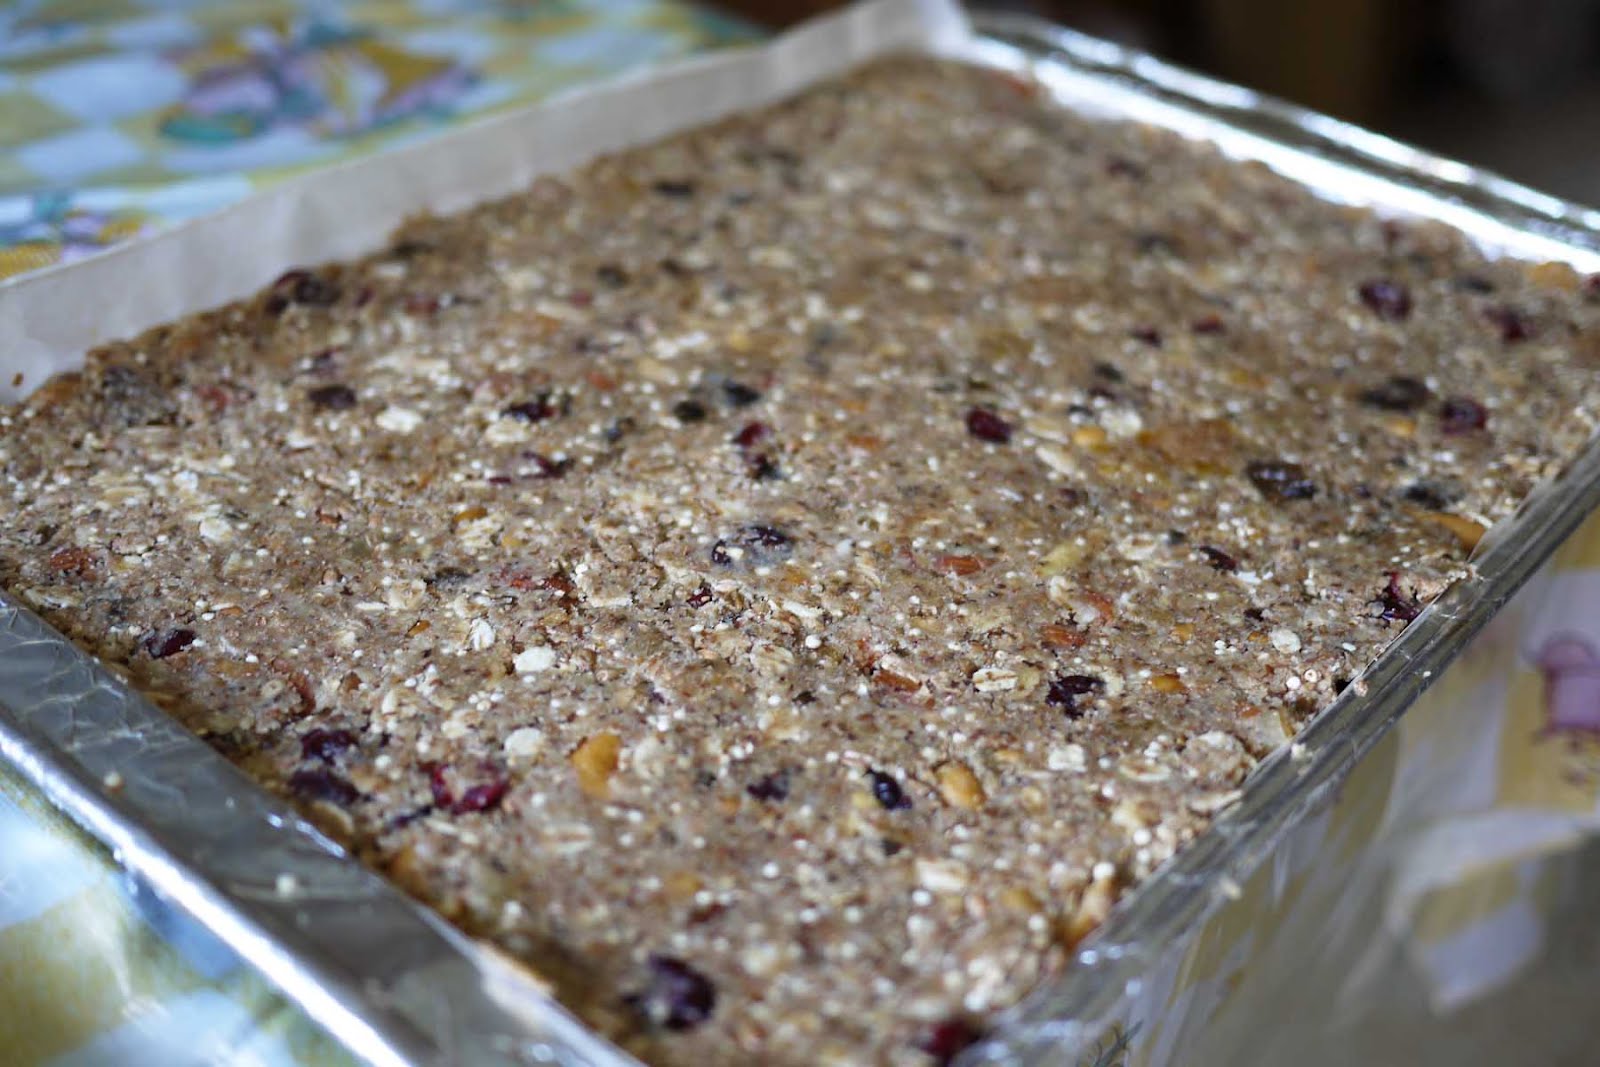
Healthy high fibre fruit-nut-coconut granola bars


The nice weather makes me think of going for long hikes, and the thought of long hikes has prompted me to make these nutritious and delicious granola bars. They have protein and fibre, crunchiness and chewiness, sweetness and saltiness, and are just delightful in every way.

The recipe (in case you want to try these too):
Ingredients to toast:
  • 2 cups wheat bran
  • 1 cup oat bran
  • 3/4 cup chopped almonds
  • 1/2 cup chopped cashews
  • 1/2 cup uncooked wheat berries
  • 1/4 cup quinoa
Other ingredients:
  • 1/3 cup defatted soy flour
  • 1 cup coconut flour
  • 1 tsp baking powder
  • 1/2 tsp salt
  • 1/2 cup dried cranberries
  • 1/2 cup chopped dried apricots
  • 1/2 cup chopped dried pitted dates
Binder ingredients:
  • 1/4 cup smooth peanut butter
  • 1/4 cup margarine (I used a reduced fat and it worked just fine)
  • 1/4 cup brown sugar (dark brown sugar, if you can find it)
  • 3 egg whites
  • 1 – 4 tbsp water

Heat wheat bran, oat bran, and  almonds in a dry skillet separately until you smell a toasty smell. Allow them to cool on a baking tray while you toast wheat berries and quinoa in a hot, dry skillet, covered with a fitted lid. Shake the skillet periodically and listen for the popping sounds inside. Once the popping sounds have almost subsided, remove the grains to another baking tray to allow for cooling. The wheat berries and quinoa are now puffed and crunchy. While everything cools, gather and measure the "Other Ingredients" list.

To bind everything together, heat peanut butter, margarine, and brown sugar on low heat. Once mixture is smooth, more runny, and combined, toss all ingredients together in a large bowl. Finally, add egg whites for structure, and enough water to until a crumbly cookie-dough texture forms. Press mixture into a flat, ~1.5 cm layer on two lined baking sheets and bake at 350 F for about 15 minutes or until the top is golden brown. Slice these into bars while they are still warm. These bars are tasty whether warm, at room temperature, or chilled. Happy trails!

Note: Don't use non-stick skillets because the dry heat and abrasiveness of the grains will damage the non-stick coating. Of course, feel free to make substitutes to suit your liking.