Pages

Showing posts with label cake. Show all posts

Wednesday, 17 April 2013

Chocolate Chantilly Cake

I'm sure someone else has already invented this cake and gave it a name, but I haven't come across it yet, so I'm just going to call it a chocolate chantilly cake. It has four layers of crispy meringue (that probably won't stay crispy by the time the cake has chilled), and is frosted with chocolate chantilly. I guess it's sort of like a dacquoise, without the buttercream or nuts. It's also meant to be a simple recipe, because other than the little bit of cream of tartar and salt, there are only four main ingredients. Hope you enjoy this rich-tasting cake too! 

By the way, if you know of the proper name for a cake like this, please let me know! University has made me obsessively vigilant about not plagiarizing or taking credit for anything that's not mine. So I definitely don't want to do that here. 


The Recipe:
Ingredients:
  • 3 egg whites
  • 1/3 cup white sugar
  • 1/4 tsp cream of tartar
  • 1/2 tsp salt
  • 200 g dark, unsweetened chocolate (you can also use bittersweet)
  • 175 mL water

Stir sugar, cream of tartar, and salt together. In a clean bowl, whisk egg whites until they reach a soft peak (or when you don't see anymore clear, runny egg whites at the bottom of the bowl). Gradually add sugar as you continue to whisk. Beat to the egg whites are glossy and reach a stiff peak. Spread into four 1 cm, 15 cm diameter round disks with a stencil onto a lined baking sheet. I used the hole in a removeable bottom pie tin. Make sure the top is even. With the leftover egg whites, scoop into a piping bag (or plastic bag and cut off a corner) and pipe small rounds to use for decoration later. Bake in a 250F oven for 30-40 minutes until the meringue is crisp and dry, and you can easily remove them from the sheet without them sticking. Allow them to cool in the oven. 

In the mean time, bring the water to a boil in a small pot (covered). Take water off the stove and drop in 175 g of chocolate. Whisk to help chocolate melt into the water. Once the chocolate has completely melted and mixed with the water, pour into a large bowl, set over a bowl of ice water, and whisk as if you're whipping cream. The chocolate should begin to firm up and resemble chocolate frosting. Spread the whipped chocolate on each meringue disc generously, keeping 1 cm border clear of the edge, stacking each layer on top of the last as you go. With the remainder of the chocolate, spread onto the sides to cover the whole cake. Stick the mini meringues on the side for decoration. With the remaining 25 g of dark chocolate, you can melt and pipe shapes to add additional decoration to put on the cake. Chill for at least a few hours in the fridge, slice, and enjoy! 

My first time making this; not sure if it was supposed to look like this. 


Meringue disks, before baking


Tada!

Sunday, 7 April 2013

Fruit & Syrup Cornmeal Cake

It's that time of the year again, when everything and everyone is just starting to stir from a long winter's nap, and I am recovering from another traumatizing set of exams. As always, a few eager early crops of cherry tomatoes and strawberries from some warmer place spring up to the front shelves of supermarkets. I know it isn't peak season yet, so they aren't very flavourful, but I couldn't resist getting a small box of each. Anyhow, they'll do fine in these cakes because I concentrate their flavours by heating and reducing some of their water content in a pan before adding them into the batter. To complement the fruits, there are also streaks of silky Chinese black vinegar swirling through these cakes. The cornmeal and dark brown sugar gives this cake a heartiness. There's a bit of lingering winter and upcoming spring in this cake to reflect the current weather.

The Recipe:
Sift together dry ingredients: 
  • 1 cup whole wheat cake/pastry flour
  • 3/4 cup yellow coarse-grind cornmeal
  • 2 tsp baking powder
  • 1/2 tsp baking soda
  • 1/4 tsp salt
Wet ingredients: 
  • 1 cup grape tomatoes
  • 1 cup whole strawberries
  • 1 cup black vinegar (AKA Chinese Chinkiang vinegar, available at Asian grocery stores)
  • 1 cup plain yogurt (not Greek, any fat content is OK, as long as there is no gelatin or thickening starches)
  • 3 whole eggs
  • 1/2 cup (or half a 250 g block) light plain cream cheese
  • 1/2 cup brown sugar
Dice tomatoes and strawberries and heat in a dry, non-stick pan until the fruit pieces look somewhat shrunken and shrivelled. Allow fruit to cool on a plate. Reduce vinegar in the same pan until it is the consistency of runny honey in the pan, or about a third to a quarter of the volume is left. Remove to a bowl to allow it to cool. In a large bowl, beat cream cheese, yogurt, and sugar until well mixed. Add eggs and continue to beat until mixture is smooth. Add sifted dry ingredients in three batches, stirring or blending partially between each batch. Gently stir in fruits until they are evenly distributed. Add reduced vinegar and stir a few times so that streaks of black from the vinegar are visible in the batter. 

Pour into non-stick cake tin of your choice (recipe fits well into a 12-inch round tin, or two 8-inch round tins, or six 4-inch mini-cake tins). Bake at 325°F or ~165°C until toothpick comes out clean. This takes about 25 minutes for the mini tins and 35 minutes for larger tins. Remove cakes from tins whenever they've cooled enough for you to handle them. Slice and enjoy!

Note: Feel free to substitute with any other fruit that taste good cooked. You can also use balsamic vinegar instead of black vinegar – just make sure to use the cheap kind. If you like your cake sweeter and think your fruits match the flavour, you can even drizzle in honey or thick molasses instead of vinegar. 

Strawberries.

Reducing vinegar. It's letting off a intensely sharp, but pleasant smell right now.

A rather thick cake batter with streaks of vinegar visible.

Hot cakes, just out of the oven. A yummy crispy top!

Time to have a slice!

Thursday, 20 December 2012

Coconut Angel Cake

Are you thinking what I'm thinking? Are you just about to begin the annual marathon of rich, decadent holiday feasts? Or perhaps you've already begun, like I have? Here, I have a recipe for a light interlude to keep our spirits (and perhaps body) light: a coconut angel food cake. Let's not wait for the summer to enjoy coconut and angel food cake. A dash of cinnamon gives this cake a welcoming warmth.

The Recipe:
Sift together dry ingredients:
Wet ingredients:
  • 6 egg whites (separated from fresh raw eggs, best if left at room temperature)
  • 4 tbsp white sugar
  • 2 tbsp brown sugar (for flavour and moisture)
  • 1/2 tsp cream of tartar (stabilizes egg white structure)
Measure out white sugar and stir in cream of tartar so that it is evenly distributed. In a large, clean bowl, beat egg whites until it comes to a soft peak. Add white sugar, a tablespoon at a time, while beating. Continue to add brown sugar, again, a tablespoon at a time. Continue beating until you get a medium peak. Carefully fold in sifted dry ingredients with a large spatula, stopping when you don't see clumps of flour anymore. You can fold it all in at once or separate into two batches. Scoop into an un-greased, 8 by 4 inch (or 20 cm by 10 cm) loaf tin, even out the top, and bake at a 325 °F (~165 °C) oven for 30 minutes or until toothpick comes out clean. Flip loaf tin upside down to cool for 15-20 minutes before removing from pan and slicing. If your tin does not have "feet", you can let it rest in a round bowl that's slightly wider than 8 inch diameter so that the cake surface is not touching anything but air can circulate. Slice and enjoy when cooled. 

Measured out dry ingredients before sifting

Egg whites beat to medium peak with sugars and cream of tartar

Cooled loaf cake

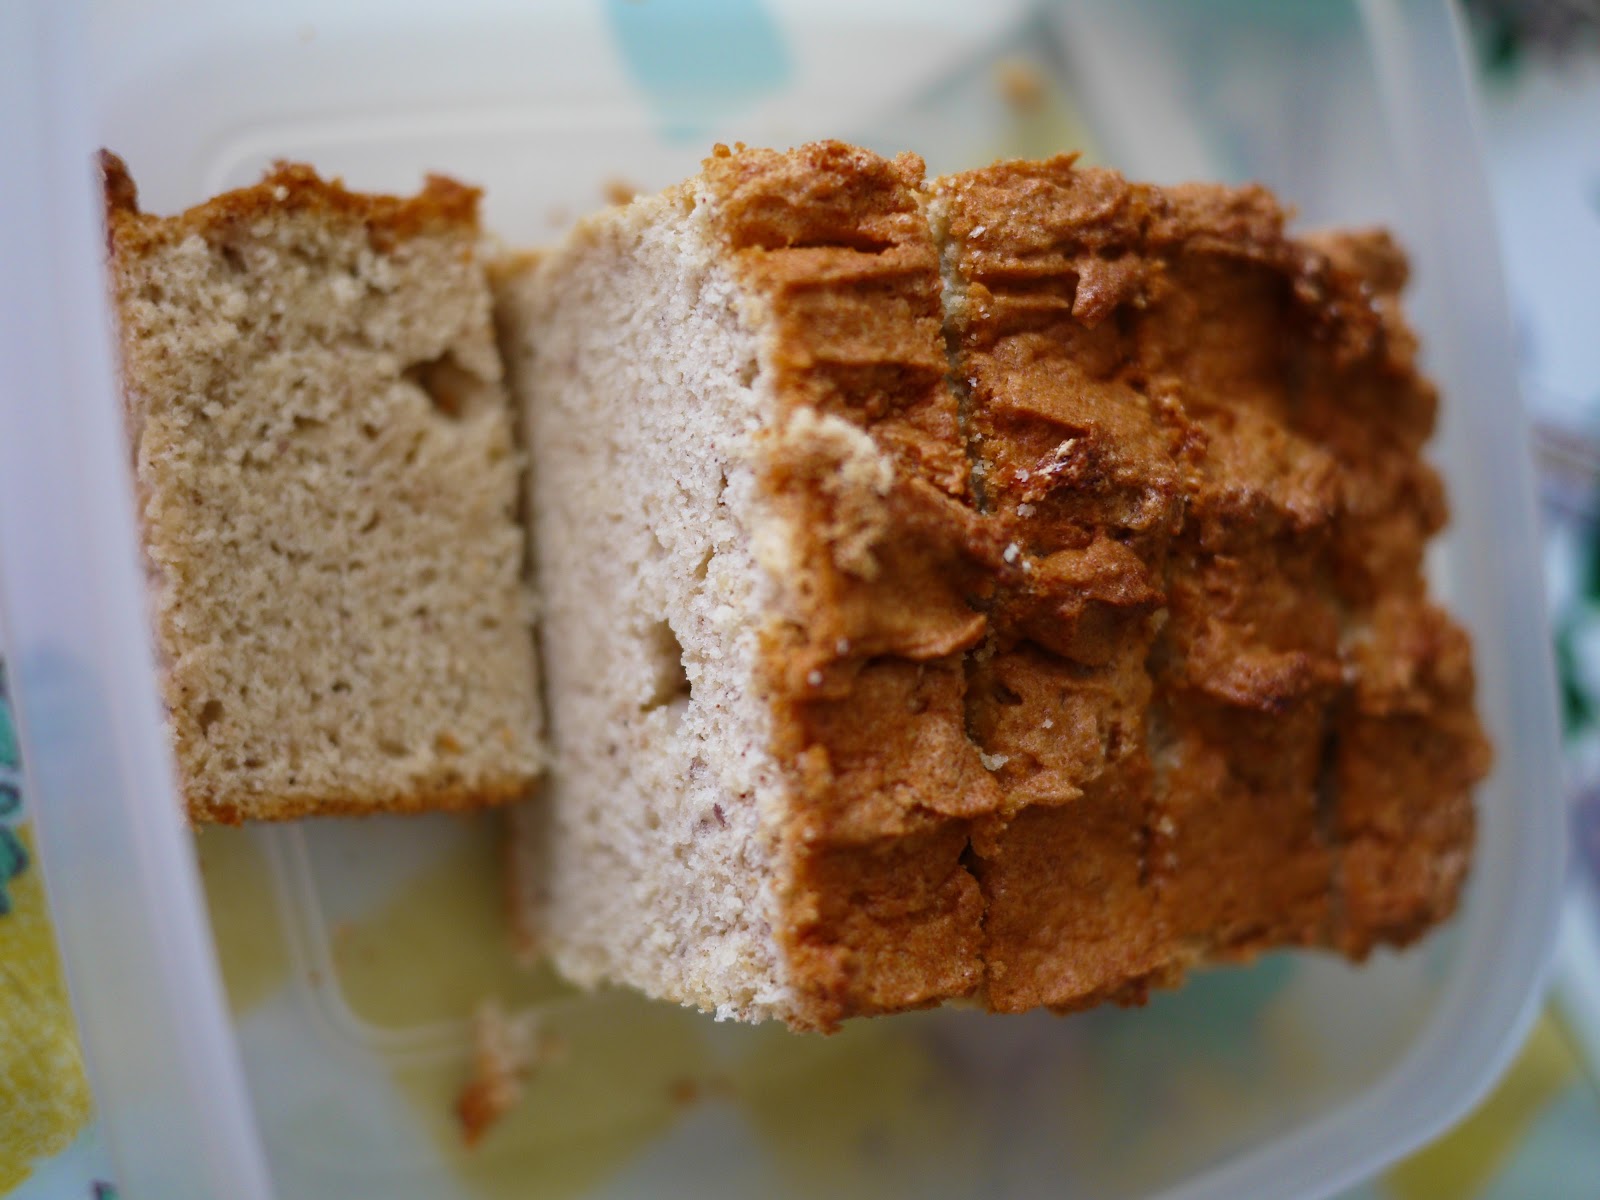
Here's how the structure and texture looks inside 
It's not exactly fat free because there is some fat in the coconut flour and soy flour (and in the flaxseed if you are using it), but it's much lower than that in pound cakes but no less flavourful. You can add a sugar glaze or sprinkle with icing sugar if you like. Happy holidays!

Sunday, 8 January 2012

Feathery berry cakes

Today is my last day of winter break before going back to school for another long term. After 3 weeks of blissful relaxation, I now face another 3 months of difficult study that I love and hate at the same time. At the beginning of my break, I had unwisely spent a week fretting about how quickly this holiday will pass and worrying about all the long hours I will have to spend memorizing my textbooks. Fortunately, in recent days, I had come to the conclusion that the time would pass whether I'm miserably counting the days left or fearlessly enjoying the seasonal festivities. So I have full-heartedly given in to doing the latter. Even on this last day.

Berry cake
The recipe for berry cakes (in case you wanted to know): I stir together 1/3 cup of room temperature light cream cheese with 2 tbsp lemon juice, 2 tsp lemon zest, and 1/4 cup skim milk until a smooth mixture forms. Then, I sift 1 cup of natural wheat bran, 5 tbsp of stone ground barley flour, and 1/2 tsp baking powder over the wet mixture, and stir until a thick batter forms (top picture). In a separate bowl, I beat 4 egg whites until frothy. I add 2 tbsp of white sugar and 1 tbsp of brown sugar (1 at a time) and beat until I get medium peaks. I fold 1/3 of the egg whites into the batter and roughly stir. Then I carefully (but quickly) fold in the rest of the egg whites using a spatula. Finally I add 1/3 cup of frozen mixed berries, straight from the freezer (without thawing) as a last minute addition. I fill two 5 inch diameter round baking tins with batter and bake in a 325 F oven for 30 minutes.

When they came out, I took a few minutes to take some pictures (bottom picture) and let them cool before slicing into a feathery light cake with dotted with hidden berry gems. Yummy and healthy!