Pages

Showing posts with label cream cheese. Show all posts

Tuesday, 14 May 2013

Green Tea Croissants

There's this program called "peaksaver" in Canada where electricity costs more during the daytime on weekdays and less at night and on weekends, so as to lower the stress on the power grid. This means I save most of the baking for weekends. Sometimes it becomes too hard to wait for the weekend and I find myself getting started on a weekday. Last week was one of those weeks, but I thought of the perfect thing to make: croissants. Croissants are made by folding a layer of solid fat (usually butter) into a yeast dough, and folding the resultant dough over and over again to achieve many layers. Making them can take up to a few days because the dough has to rest in the fridge for hours between each fold. Starting on a Thursday night made them ready for baking on Saturday. I combined cream cheese and butter with some green tea powder for the fat layer for half the recipe, and just butter and green tea powder for the other half. Since I only had whole wheat flour at home, I used that for both recipes. Both turned out alright. The cream cheese croissants were softer while the butter ones were crispier.

The Recipe:
Ingredients:
Fat layer:
  • 100 g unsalted butter
  • 125 g plain cream cheese (or use all butter if desired)
  • 2 tsp green tea powder
Dough:
  • 250 g whole wheat flour
  • 25 g pea fibre (not really necessary)
  • 1 tsp yeast
  • ~1 cup lukewarm water
  • 4 tbsp sugar
  • 1/4 tsp salt
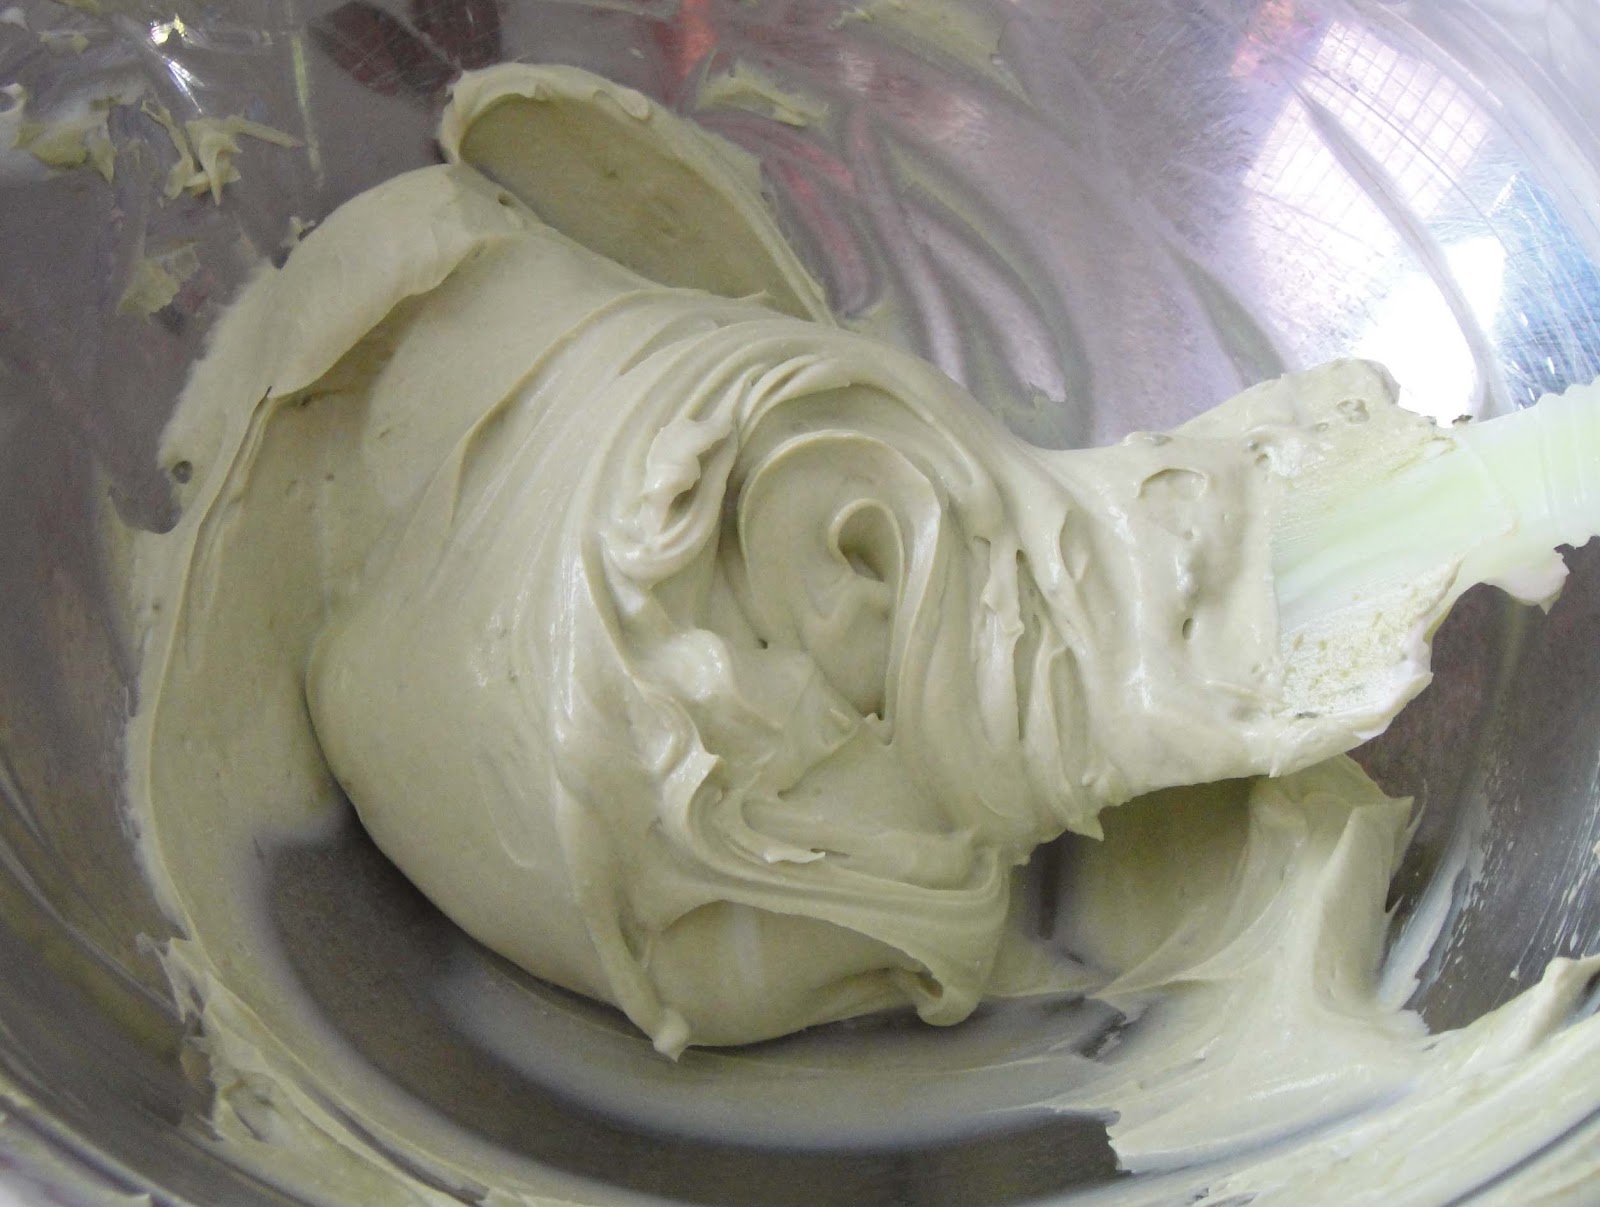
Softened the butter and cream cheese, add green tea powder, and stir together to combine. Roll into a large, flat square about 6" (~15 cm) wide between two pieces of plastic wrap. Store on a flat surface in the fridge for 15 to 30 minutes to let it firm up. Meanwhile, prepare the dough by stirring all ingredients together and kneading it into an smooth, elastic ball. Roll out into a rectangle about 7" by 14" (~17.5 by 35 cm) large. The idea is to get it slightly larger than twice the size of the butter layer. Place the chilled butter layer on one side of the rolled out dough and fold the other side over so that the butter is sandwiched between two layers of dough. Make sure there are no air pockets between dough and butter and pinch the sides to seal the butter in. 

Roll the dough out a bit so that it becomes a rectangle with one set of edges longer than the original 7". Fold into three like a letter, wrap loosely with plastic wrap and place in the fridge to chill for anywhere between 1 to 8 hours. Repeat this roll, fold, and chill process again three to four more times. 

When the final dough has had time to chill and rise slightly in the fridge, it is ready to be rolled out, cut, and shaped into a croissant. On a floured surface, roll out dough into a layer just less than 0.5" (~1 cm) thick. Cut into triangles and add a small slit at the base of the triangle to help with even baking. Roll into crescents starting at the base, and place on a lined baking sheet. Allow to rise at room temperature for 1 to 2 hours and bake in a 350F (~175C) oven for 20 – 25 min. Allow to cool on a rack. 

Green tea butter sitting on dough

Cut out dough, ready to be shaped into a croissant

Before baking (this is the cream cheese and butter batch)

Before baking (this is the pure butter batch)

Fresh from the oven (this is the butter batch)

Texture of the cream cheese and butter croissants (retained green tea colour better than the butter ones)

Texture of the pure butter croissants


Sunday, 7 April 2013

Fruit & Syrup Cornmeal Cake

It's that time of the year again, when everything and everyone is just starting to stir from a long winter's nap, and I am recovering from another traumatizing set of exams. As always, a few eager early crops of cherry tomatoes and strawberries from some warmer place spring up to the front shelves of supermarkets. I know it isn't peak season yet, so they aren't very flavourful, but I couldn't resist getting a small box of each. Anyhow, they'll do fine in these cakes because I concentrate their flavours by heating and reducing some of their water content in a pan before adding them into the batter. To complement the fruits, there are also streaks of silky Chinese black vinegar swirling through these cakes. The cornmeal and dark brown sugar gives this cake a heartiness. There's a bit of lingering winter and upcoming spring in this cake to reflect the current weather.

The Recipe:
Sift together dry ingredients: 
  • 1 cup whole wheat cake/pastry flour
  • 3/4 cup yellow coarse-grind cornmeal
  • 2 tsp baking powder
  • 1/2 tsp baking soda
  • 1/4 tsp salt
Wet ingredients: 
  • 1 cup grape tomatoes
  • 1 cup whole strawberries
  • 1 cup black vinegar (AKA Chinese Chinkiang vinegar, available at Asian grocery stores)
  • 1 cup plain yogurt (not Greek, any fat content is OK, as long as there is no gelatin or thickening starches)
  • 3 whole eggs
  • 1/2 cup (or half a 250 g block) light plain cream cheese
  • 1/2 cup brown sugar
Dice tomatoes and strawberries and heat in a dry, non-stick pan until the fruit pieces look somewhat shrunken and shrivelled. Allow fruit to cool on a plate. Reduce vinegar in the same pan until it is the consistency of runny honey in the pan, or about a third to a quarter of the volume is left. Remove to a bowl to allow it to cool. In a large bowl, beat cream cheese, yogurt, and sugar until well mixed. Add eggs and continue to beat until mixture is smooth. Add sifted dry ingredients in three batches, stirring or blending partially between each batch. Gently stir in fruits until they are evenly distributed. Add reduced vinegar and stir a few times so that streaks of black from the vinegar are visible in the batter. 

Pour into non-stick cake tin of your choice (recipe fits well into a 12-inch round tin, or two 8-inch round tins, or six 4-inch mini-cake tins). Bake at 325°F or ~165°C until toothpick comes out clean. This takes about 25 minutes for the mini tins and 35 minutes for larger tins. Remove cakes from tins whenever they've cooled enough for you to handle them. Slice and enjoy!

Note: Feel free to substitute with any other fruit that taste good cooked. You can also use balsamic vinegar instead of black vinegar – just make sure to use the cheap kind. If you like your cake sweeter and think your fruits match the flavour, you can even drizzle in honey or thick molasses instead of vinegar. 

Strawberries.

Reducing vinegar. It's letting off a intensely sharp, but pleasant smell right now.

A rather thick cake batter with streaks of vinegar visible.

Hot cakes, just out of the oven. A yummy crispy top!

Time to have a slice!

Saturday, 5 January 2013

Lemon Yogurt Bars

These really taste like cheesecake, but I put more yogurt than cream cheese in it so it would probably be more appropriate to call it "yogurt bars". Besides, it sounds more austere than "cheesecake bars". Instead of the traditional graham crackers crust, I make a hearty buckwheat crust. The yogurt I use is 2% plain greek yogurt, and the cheeses I used were light ricotta and light cream cheese. I know it seems like I'm using light everything, but there's no shortage of flavour. Even my mom, who thinks desserts have to be full fat to taste good, couldn't tell I used light ingredients. Try them for yourselves.

The Recipe:
Crust:
  • 1 cup dark buckwheat flour
  • 1/4 cup soy flour
  • 1/4 cup wheat bran
  • 1/4 cup butter
  • 3 – 6 tbsp water
  • 1 tsp white sugar
  • 1/4 tsp salt
Yogurt layer:
  • 1 cup 2% plain greek yogurt
  • 3/4 cup light ricotta cheese
  • 1/4 cup light cream cheese
  • 2 large eggs
  • 1/4 cup brown sugar
  • 2 tsp vanilla extract
  • zest and juice of one lemon
Stir together buckwheat flour, soy flour, wheat bran, and salt. Rub in butter until there are no visible chunks of butter left. Don't worry about keeping it cold because we aren't making flaky pastry; we are only trying to distribute the butter evenly, and I find it easier to do it this way rather than melting it. Add water as needed until it forms a crumbly mixture. If you squeeze a handful of dough together, it should stick together like wet sand. Press into a lined 9 inch (22.9 cm) square tin and bake in a 350 F (175 C) oven for 15 to 20 minutes. Set aside to cool. 

For the yogurt layer, simply stir all ingredients together, pour onto the cooled, baked crust, and bake at 325 F (~165 C) for 20 to 30 minutes, or until the yogurt layer has just set. Cool to room temperature and chill before slicing into bars. 

Note: to prevent the crust from becoming soggy, I poured about 1/4 of the yogurt mixture over the crust, spread it in a thin, even layer, and baked it for about 5 minutes before pouring the rest over the crust. 

Lemon yogurt filling

Buckwheat crust, before baking

Buckwheat crust, after baking

Baked and cooled lemon square – no cracks! :D

We sliced it into smaller pieces this time to serve as finger food

Monday, 14 May 2012

White chocolate green tea truffle cheesecakes

I decided to try a new recipe this weekend by combining green tea and white chocolate into a cheesecake. The idea was to use white chocolate to sweeten and add richness to the regular green tea cheesecake. It resulted in a truffle-like texture and a delicious sweet-tart taste due to the combination of white chocolate and green tea powder. I used mini-muffin tins to portion these cheesecakes.

The recipe: The crust: I combine 1/4 cup dark buckwheat flour, 1/2 cup barley flour, 3 tbsp melted butter, 1/8 tsp salt, 1 tbsp sugar in a bowl and divide and press into the bottom of 24 mini-muffin tins. These bake in a 300 F oven for 10 minutes and allow to cool. The cheesecake: I combine 3/4 cup plain, light cream cheese with 1/2 cup plain, fat-free greek yogurt in a bowl. Then I stir in 3 oz melted white baking chocolate, 1 tsp green tea powder, and 1 tsp cornstarch. Finally, I add 1/2 cup liquid egg, and 1 tsp vanilla extract if desired. Once the cheesecake batter is thoroughly mixed, I divide it into the 24 mini-muffin tins and bake in a 300 F oven for 12-15 minutes. Once they cool for 10 minutes or so, they can be gently eased out of the muffin tins and and chilled for a few hours before serving. Yum!

Note: The base to these cheesecakes can be substituted with the base for the purple cheesecake or a traditional graham cracker cheesecake base if preferred.

Monday, 20 February 2012

Purple Cheesecake

It's February! The weather has been wonderful here – some snow, lots of blue skies, lots of sunshine – but I've been largely confined to indoor areas. You see, February is a midterm month, which means Valentines day, my birthday, and any other sunny day are traditionally spent intimately with textbooks. This long weekend provided a much needed breather and an opportunity to test a recipe that had been brewing at the back of my mind through out all those hours of studying. The recipe involved using a new kitchen equipment that I'd been planning to buy for a while: the potato ricer. I was so excited to try it and finally did yesterday. Let me tell you, it felt so incredibly satisfying to press the pulp out of the potato and watch the potato spaghetti-shaped strands emerge from the bottom. I used it to make a purple sweet potato cheesecake.

The recipe: Steam three small purple potatoes (about 1 lb) until soft. Mash potatoes and 12 oz light, plain cream cheese together in a bowl. Add 3 tbsp brown sugar, 3/4 cup milk (any fat content will do) and 2 egg whites. Using a whisk, gently stir to thoroughly mix all ingredients without adding air. Pour into two 6 inch round cake pans lined with parchment paper on the bottom only. Even out the top and place in the refrigerator (I just covered mine and placed them outdoors) to chill. Meanwhile, to make the base, stir together 2 tablespoons each whole wheat flour, soy flour, and coconut flour with 2/3 cup milk and 2 tbsp melted butter. In a separate bowl, beat an egg white with 1 tablespoon sugar and a pinch of salt to medium peak. Fold egg whites into the flour and milk mixture. Gently pour the base batter on top of the chilled cheesecake batter, being careful to keep the surface of the cheesecake even. Bake in a 250F oven for 1 hour 30 minutes. Top should be golden brown. Let the cheesecakes cool at room temperature before chilling in the refrigerator for a few hours or overnight. Run a thin spatula around the edges of the chilled cake and gently turn it upside down onto a plate. Slice, serve, enjoy!

I used the potato ricer to mash the potatoes and cream cheese. This eliminates the need to bring the cream cheese to room temperature first. I find 3 tablespoons of brown sugar makes the cake sweet enough for my tastes, but if you prefer sweeter, feel free to add more. Baking the crust on top of the cheesecake has many benefits. You don't have to worry about baking in a water bath, excess soufflé, or cracks. It also prevents a soggy crust. Just make sure not to use removable bottom cake tins and remember to line the bottom of the cake pans with parchment!

Sunday, 8 January 2012

Feathery berry cakes

Today is my last day of winter break before going back to school for another long term. After 3 weeks of blissful relaxation, I now face another 3 months of difficult study that I love and hate at the same time. At the beginning of my break, I had unwisely spent a week fretting about how quickly this holiday will pass and worrying about all the long hours I will have to spend memorizing my textbooks. Fortunately, in recent days, I had come to the conclusion that the time would pass whether I'm miserably counting the days left or fearlessly enjoying the seasonal festivities. So I have full-heartedly given in to doing the latter. Even on this last day.

Berry cake
The recipe for berry cakes (in case you wanted to know): I stir together 1/3 cup of room temperature light cream cheese with 2 tbsp lemon juice, 2 tsp lemon zest, and 1/4 cup skim milk until a smooth mixture forms. Then, I sift 1 cup of natural wheat bran, 5 tbsp of stone ground barley flour, and 1/2 tsp baking powder over the wet mixture, and stir until a thick batter forms (top picture). In a separate bowl, I beat 4 egg whites until frothy. I add 2 tbsp of white sugar and 1 tbsp of brown sugar (1 at a time) and beat until I get medium peaks. I fold 1/3 of the egg whites into the batter and roughly stir. Then I carefully (but quickly) fold in the rest of the egg whites using a spatula. Finally I add 1/3 cup of frozen mixed berries, straight from the freezer (without thawing) as a last minute addition. I fill two 5 inch diameter round baking tins with batter and bake in a 325 F oven for 30 minutes.

When they came out, I took a few minutes to take some pictures (bottom picture) and let them cool before slicing into a feathery light cake with dotted with hidden berry gems. Yummy and healthy!