Pages

Saturday, 19 May 2012

Soft coconut oat cookies

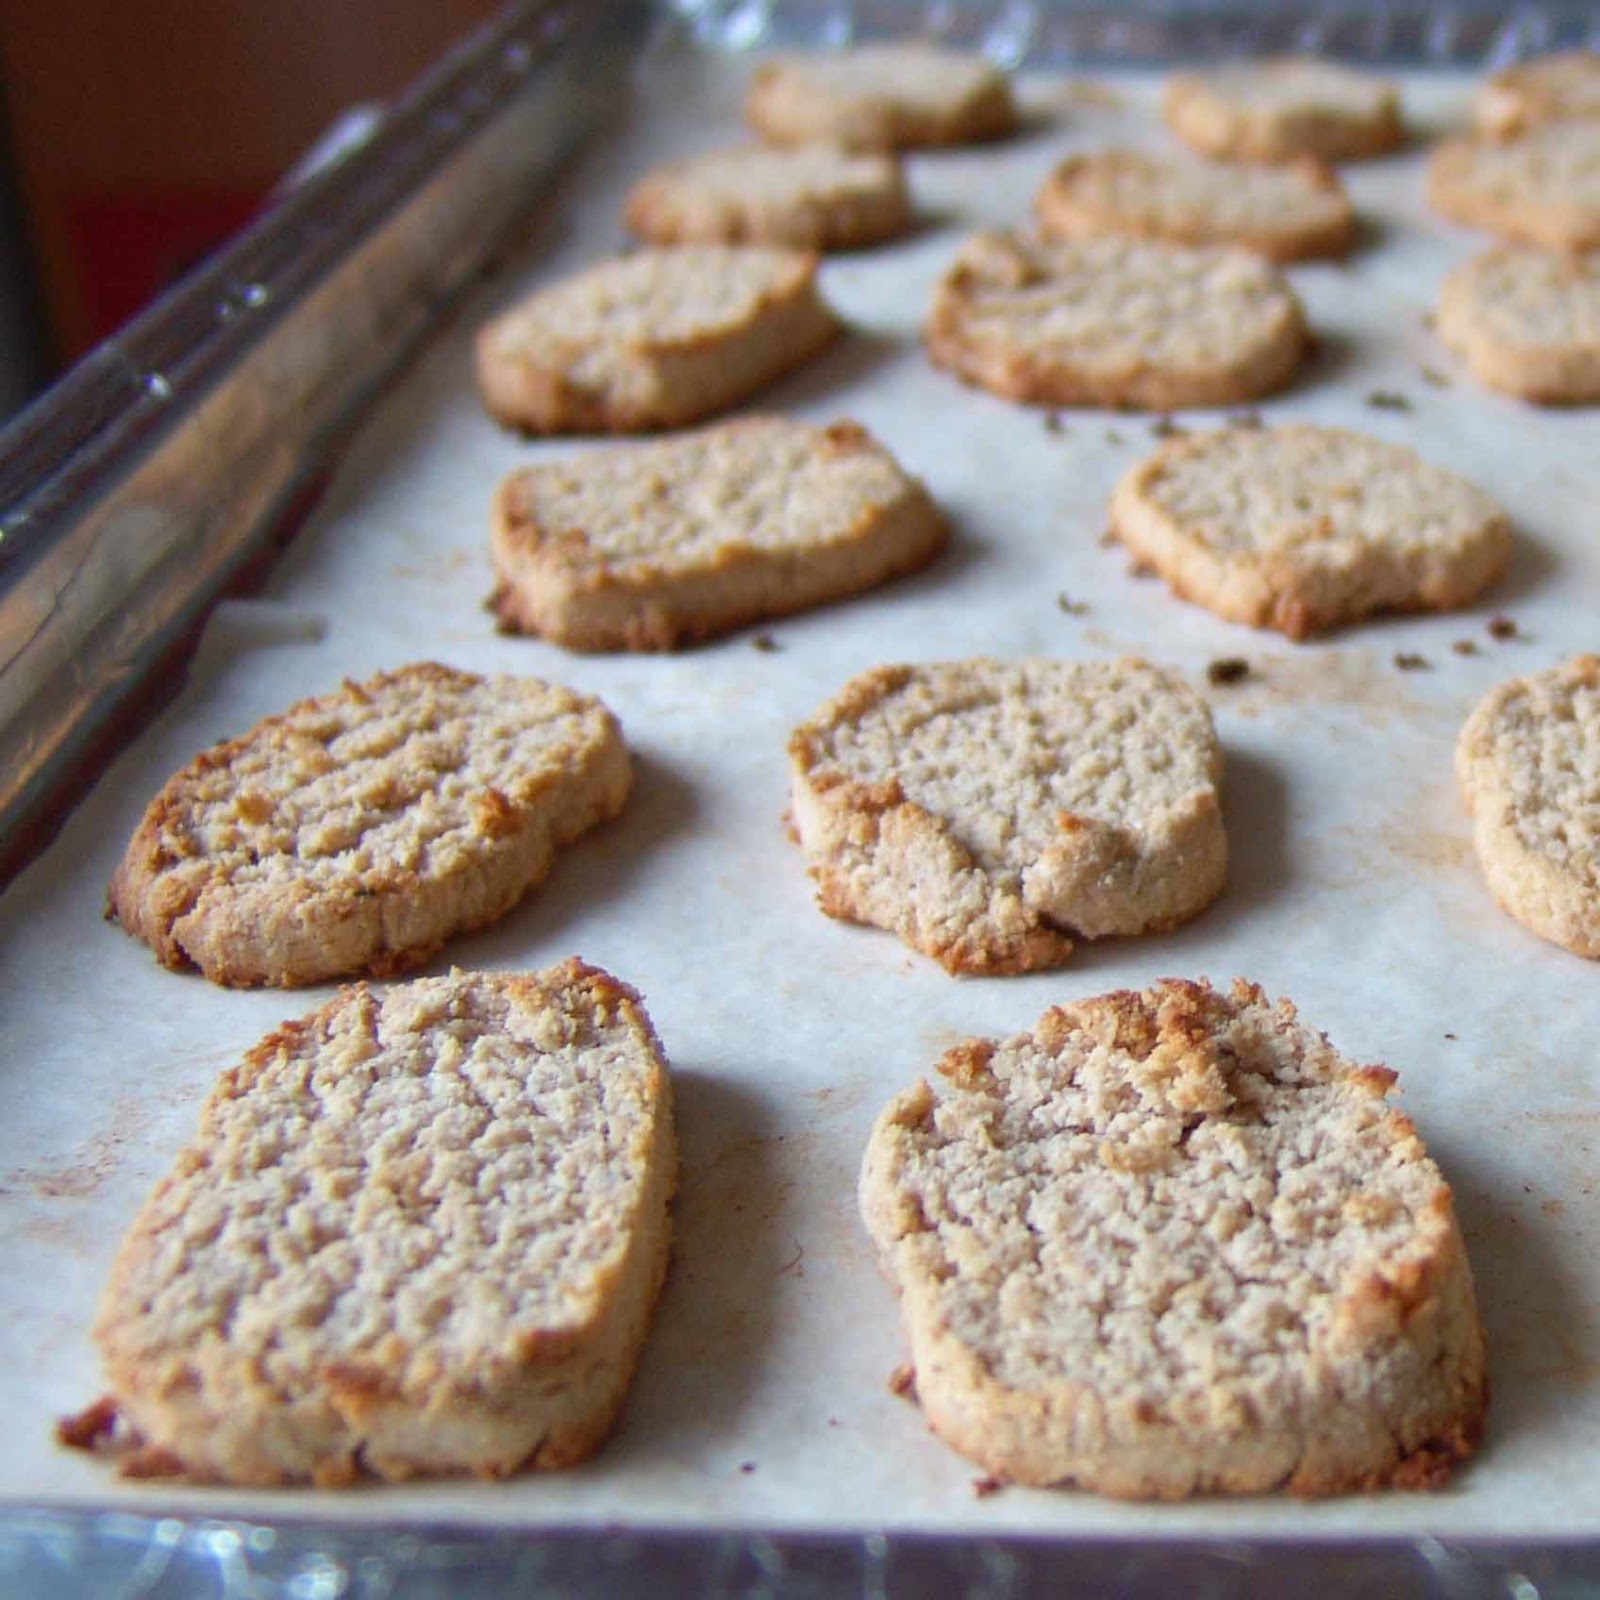
The smell of coconut prompts me to conjure images of calm swaying palm trees and lazy sweeping sea waves. These soft cookies are made with oat bran and coconut flour. Both ingredients not only make it high in fibre, but also give it a wonderful texture and delicious taste. The chewy softness comes from using liquid forms of sugar like corn syrup and condensed milk.

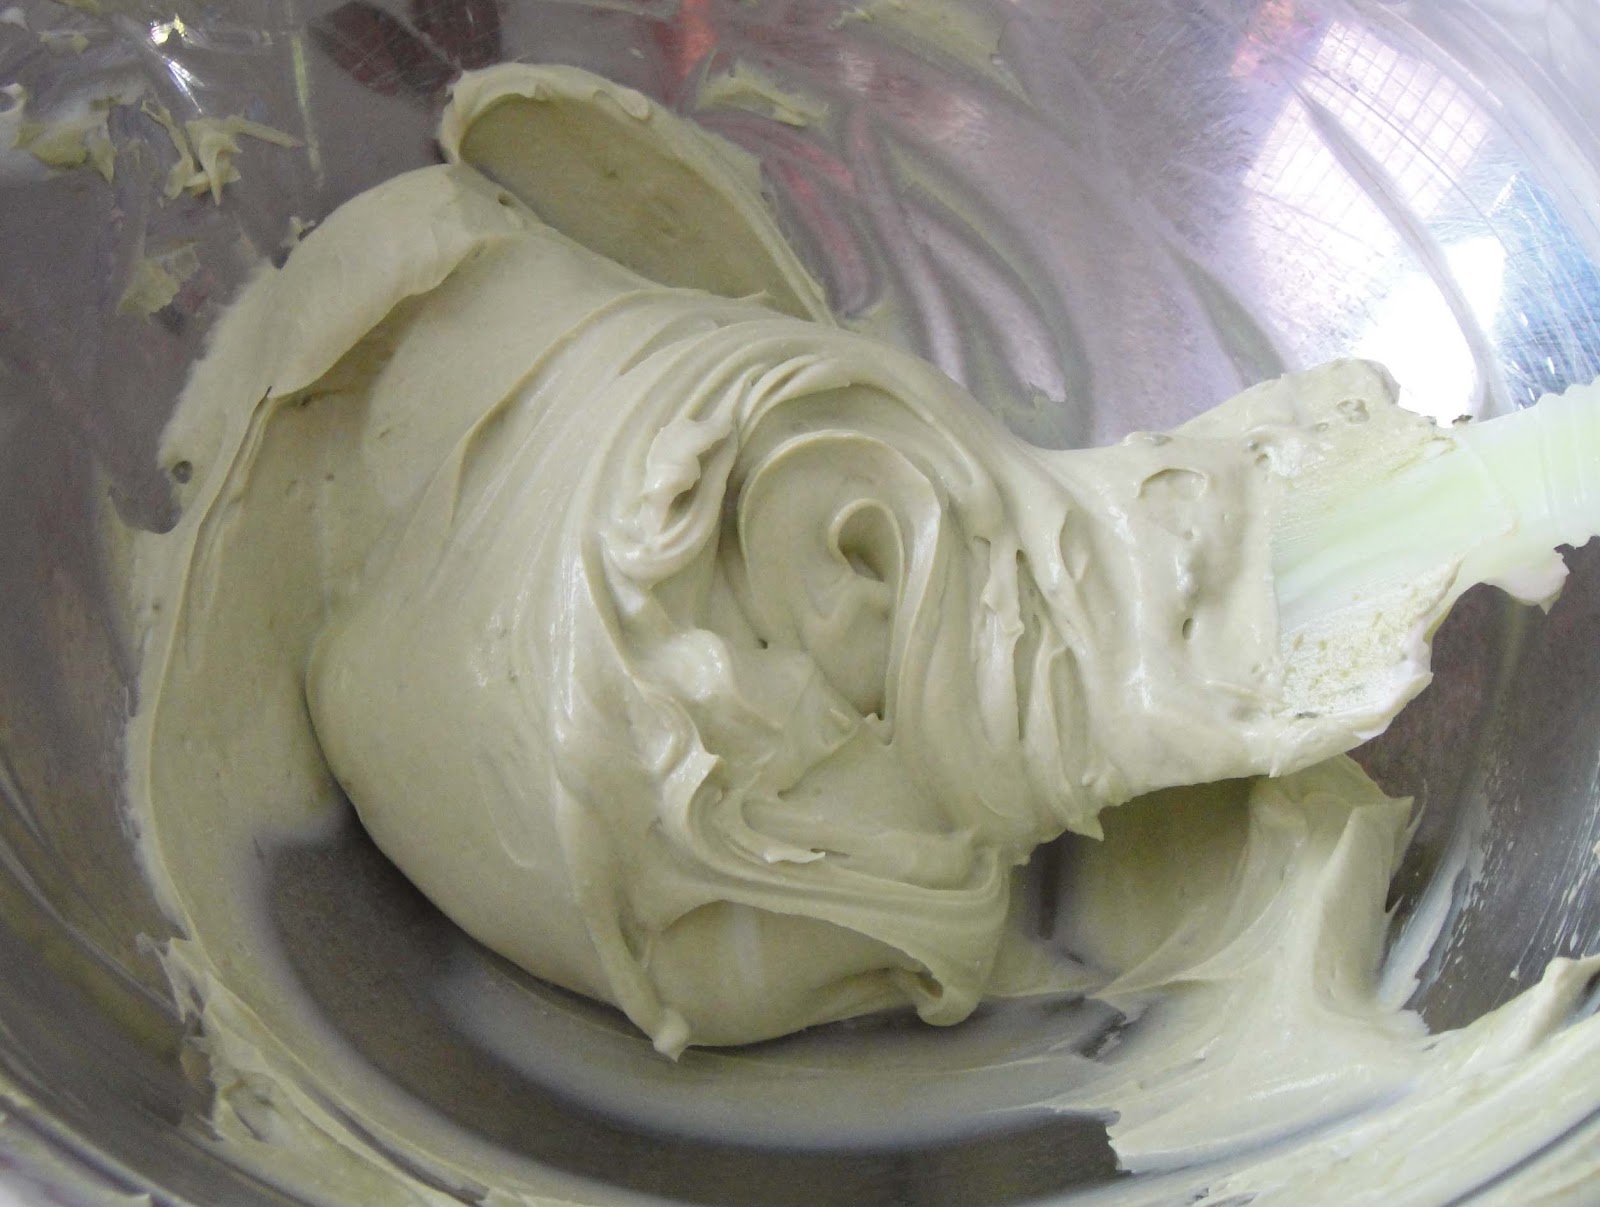
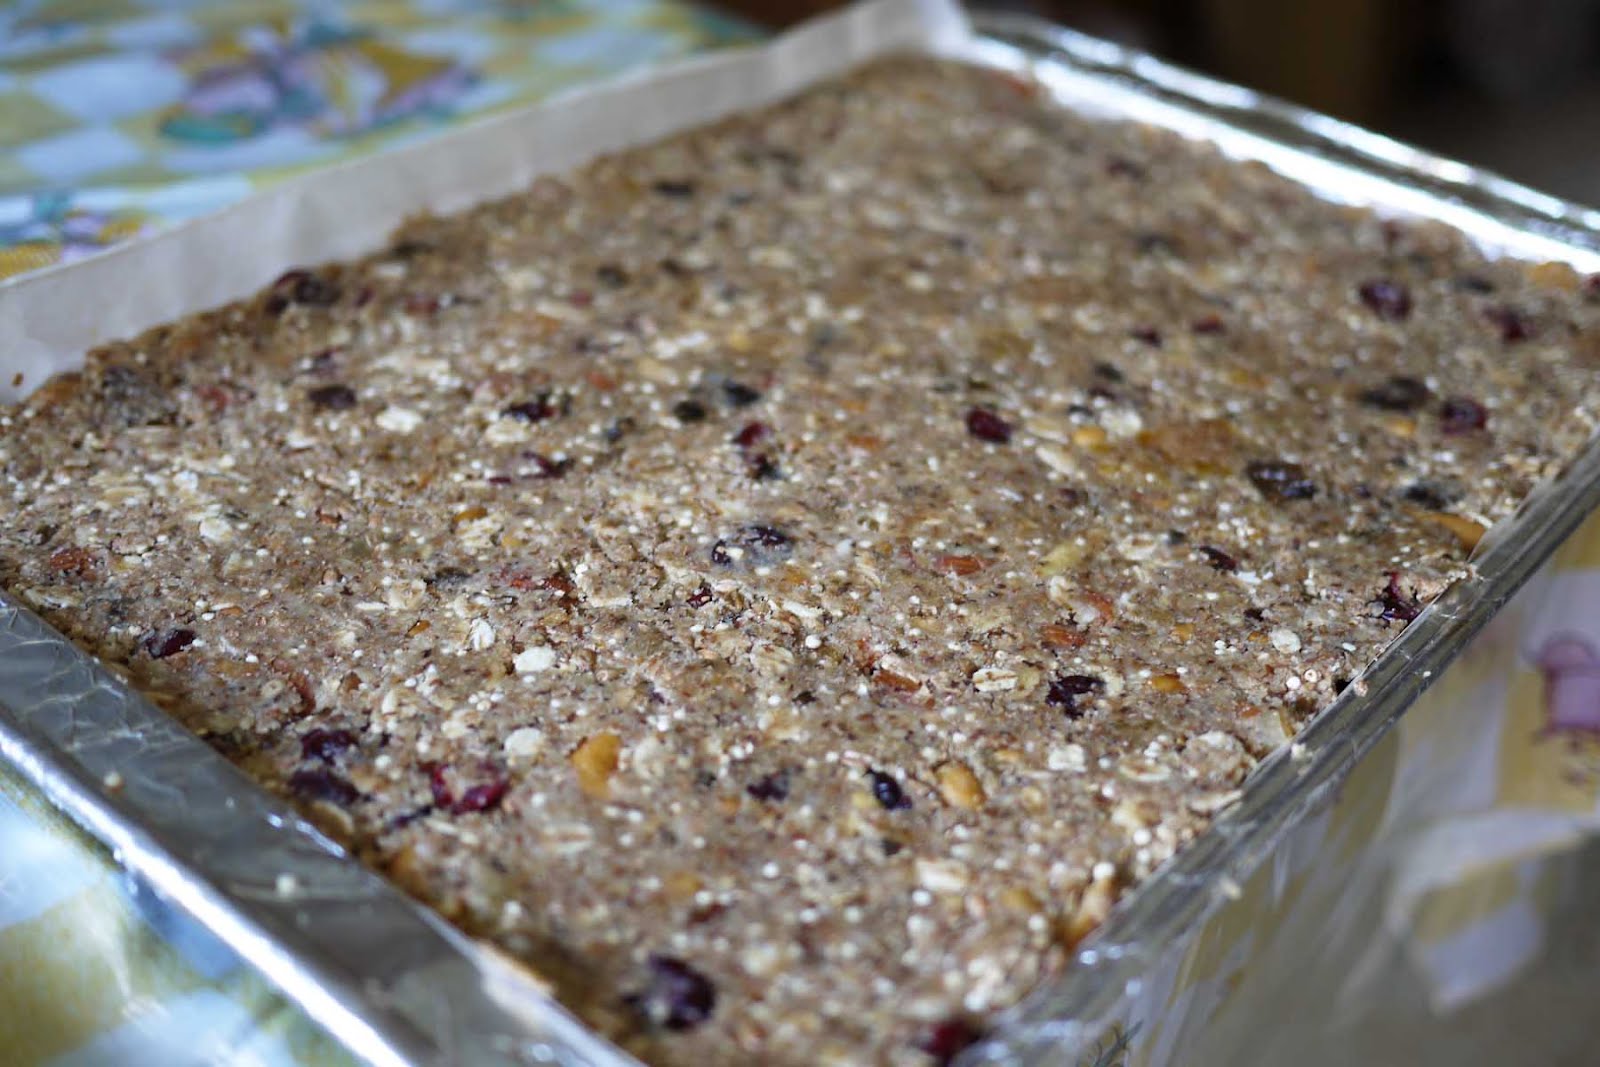
The recipe: Measure 2 1/4 cups oat bran into a bowl and sift 1 cup coconut flour with 1/4 tsp salt and 2 tsp baking powder over it. In a separate bowl, heat 1/4 cup unsalted butter with 3/4 cup corn syrup and 2 tbsp low fat condensed milk over gentle heat until butter is melted, and corn syrup and condensed milk are runny. Take the wet mixture off the heat and whisk 1/2 cup room temperature milk into it. Then add 3 egg whites at once and whisk vigorously to combine. Pour all the wet ingredients into the dry and stir until combined with a spatula. There's no need to worry about over-mixing here because there's no gluten. Since the dough is very soft, shape it into small logs (~5 cm diameter) using cling wrap and freeze it for 45 min to 1 hour. With a sharp knife, cut dough log into ~0.5 cm slices, place on lined baking sheets and bake in a 300 F oven for 10-12 minutes. Feel free to bite in whenever they cool to a tolerable temperature!

Monday, 14 May 2012

White chocolate green tea truffle cheesecakes

I decided to try a new recipe this weekend by combining green tea and white chocolate into a cheesecake. The idea was to use white chocolate to sweeten and add richness to the regular green tea cheesecake. It resulted in a truffle-like texture and a delicious sweet-tart taste due to the combination of white chocolate and green tea powder. I used mini-muffin tins to portion these cheesecakes.

The recipe: The crust: I combine 1/4 cup dark buckwheat flour, 1/2 cup barley flour, 3 tbsp melted butter, 1/8 tsp salt, 1 tbsp sugar in a bowl and divide and press into the bottom of 24 mini-muffin tins. These bake in a 300 F oven for 10 minutes and allow to cool. The cheesecake: I combine 3/4 cup plain, light cream cheese with 1/2 cup plain, fat-free greek yogurt in a bowl. Then I stir in 3 oz melted white baking chocolate, 1 tsp green tea powder, and 1 tsp cornstarch. Finally, I add 1/2 cup liquid egg, and 1 tsp vanilla extract if desired. Once the cheesecake batter is thoroughly mixed, I divide it into the 24 mini-muffin tins and bake in a 300 F oven for 12-15 minutes. Once they cool for 10 minutes or so, they can be gently eased out of the muffin tins and and chilled for a few hours before serving. Yum!

Note: The base to these cheesecakes can be substituted with the base for the purple cheesecake or a traditional graham cracker cheesecake base if preferred.

Monday, 7 May 2012

Buckwheat banana pancakes

There are many healthy ways to start a day. Homemade buckwheat banana pancakes is one of those ways. These pancakes are soft and fluffy on the inside and have a thin, crispy coconut crust on the top and bottom. They are also very easy and quick to make.

The recipe: I peel and chop 2 medium-sized, ripe bananas and place in a bowl. Then I separate two eggs and place 1 egg yolk in the bowl with the bananas and the 2 egg whites in a clean bowl for whisking later. I add 3 tablespoons of buckwheat flour and 1/4 teaspoons of salt to the banana and egg yolk. Using a fork, I mash the bananas and thoroughly combine the flour and egg yolk and set aside. Using a whisk, I beat the egg whites until it holds a soft peak. As I preheat a non-stick pan, I gently fold the beaten egg whites and banana mixture together, leaving a few small lumps. The pancake mixture is ready. I add a about a teaspoon of margarine to the pan and swirl it around. Before I spoon the pancake mixture onto the pan, I sprinkle some dried, shredded, unsweetened coconut where I plan to place my pancakes. I then spoon my pancake batter into the pan (about 3-4 tbsp of batter per pancake), sprinkle over some more coconut, and let the pancakes cook unit small bubbles start to pop on the upper surface (about 2 minutes). I flip the pancakes and let the uncooked side brown for another 2 minutes. The first batch of pancakes is ready to serve!

Since there's such a high banana content in these cakes, I find that they are sweet and moist enough to eat on their own, but they can certainly be topped with any pancake topping of choice. By the way, these pancakes happen to be gluten-free, dairy-free, and nut-free. Who would've guessed?

Disclaimer: Please note that this recipe has not been reviewed by FAI or medical experts. Avoidance is the only accepted course of treatment for food allergy. Always verify ingredients or food products by checking with the manufacturer and/or your physician to ensure that any foods are safe for your unique allergy issues.

Thursday, 3 May 2012

Healthy high fibre fruit-nut-coconut granola bars


The nice weather makes me think of going for long hikes, and the thought of long hikes has prompted me to make these nutritious and delicious granola bars. They have protein and fibre, crunchiness and chewiness, sweetness and saltiness, and are just delightful in every way.

The recipe (in case you want to try these too):
Ingredients to toast:
  • 2 cups wheat bran
  • 1 cup oat bran
  • 3/4 cup chopped almonds
  • 1/2 cup chopped cashews
  • 1/2 cup uncooked wheat berries
  • 1/4 cup quinoa
Other ingredients:
  • 1/3 cup defatted soy flour
  • 1 cup coconut flour
  • 1 tsp baking powder
  • 1/2 tsp salt
  • 1/2 cup dried cranberries
  • 1/2 cup chopped dried apricots
  • 1/2 cup chopped dried pitted dates
Binder ingredients:
  • 1/4 cup smooth peanut butter
  • 1/4 cup margarine (I used a reduced fat and it worked just fine)
  • 1/4 cup brown sugar (dark brown sugar, if you can find it)
  • 3 egg whites
  • 1 – 4 tbsp water

Heat wheat bran, oat bran, and  almonds in a dry skillet separately until you smell a toasty smell. Allow them to cool on a baking tray while you toast wheat berries and quinoa in a hot, dry skillet, covered with a fitted lid. Shake the skillet periodically and listen for the popping sounds inside. Once the popping sounds have almost subsided, remove the grains to another baking tray to allow for cooling. The wheat berries and quinoa are now puffed and crunchy. While everything cools, gather and measure the "Other Ingredients" list.

To bind everything together, heat peanut butter, margarine, and brown sugar on low heat. Once mixture is smooth, more runny, and combined, toss all ingredients together in a large bowl. Finally, add egg whites for structure, and enough water to until a crumbly cookie-dough texture forms. Press mixture into a flat, ~1.5 cm layer on two lined baking sheets and bake at 350 F for about 15 minutes or until the top is golden brown. Slice these into bars while they are still warm. These bars are tasty whether warm, at room temperature, or chilled. Happy trails!

Note: Don't use non-stick skillets because the dry heat and abrasiveness of the grains will damage the non-stick coating. Of course, feel free to make substitutes to suit your liking.

Friday, 27 April 2012

Resurface to salads


Crudité Monster: celery, carrots, cucumbers
Berry Salad: blueberries, strawberries, kiwi
I've finally finished my exams and term work! I can't believe another school year has finished already. Now that I can devote more time to doing things I enjoy, I've been guiltlessly dreaming up new recipes and crafty projects to try out. So I'd decided to snack on some fruits and Crudités while I fantasized what sorts of recipes I should try out first...

Wednesday, 21 March 2012

Summer arriving early

It's March and where I live, it feels like June. I feel like I need to start digging for those ice cube trays and jello moulds for summery desserts! For now, however, I must concentrate on my exams and end-of-the-school-year projects. I promise I will be back soon to share all the new creations and ideas I come up with this season.

By the way, feel free to leave comments on any of the posts!

Monday, 20 February 2012

Purple Cheesecake

It's February! The weather has been wonderful here – some snow, lots of blue skies, lots of sunshine – but I've been largely confined to indoor areas. You see, February is a midterm month, which means Valentines day, my birthday, and any other sunny day are traditionally spent intimately with textbooks. This long weekend provided a much needed breather and an opportunity to test a recipe that had been brewing at the back of my mind through out all those hours of studying. The recipe involved using a new kitchen equipment that I'd been planning to buy for a while: the potato ricer. I was so excited to try it and finally did yesterday. Let me tell you, it felt so incredibly satisfying to press the pulp out of the potato and watch the potato spaghetti-shaped strands emerge from the bottom. I used it to make a purple sweet potato cheesecake.

The recipe: Steam three small purple potatoes (about 1 lb) until soft. Mash potatoes and 12 oz light, plain cream cheese together in a bowl. Add 3 tbsp brown sugar, 3/4 cup milk (any fat content will do) and 2 egg whites. Using a whisk, gently stir to thoroughly mix all ingredients without adding air. Pour into two 6 inch round cake pans lined with parchment paper on the bottom only. Even out the top and place in the refrigerator (I just covered mine and placed them outdoors) to chill. Meanwhile, to make the base, stir together 2 tablespoons each whole wheat flour, soy flour, and coconut flour with 2/3 cup milk and 2 tbsp melted butter. In a separate bowl, beat an egg white with 1 tablespoon sugar and a pinch of salt to medium peak. Fold egg whites into the flour and milk mixture. Gently pour the base batter on top of the chilled cheesecake batter, being careful to keep the surface of the cheesecake even. Bake in a 250F oven for 1 hour 30 minutes. Top should be golden brown. Let the cheesecakes cool at room temperature before chilling in the refrigerator for a few hours or overnight. Run a thin spatula around the edges of the chilled cake and gently turn it upside down onto a plate. Slice, serve, enjoy!

I used the potato ricer to mash the potatoes and cream cheese. This eliminates the need to bring the cream cheese to room temperature first. I find 3 tablespoons of brown sugar makes the cake sweet enough for my tastes, but if you prefer sweeter, feel free to add more. Baking the crust on top of the cheesecake has many benefits. You don't have to worry about baking in a water bath, excess soufflé, or cracks. It also prevents a soggy crust. Just make sure not to use removable bottom cake tins and remember to line the bottom of the cake pans with parchment!